The wall panelling tool kit
Know your kit
Setting out
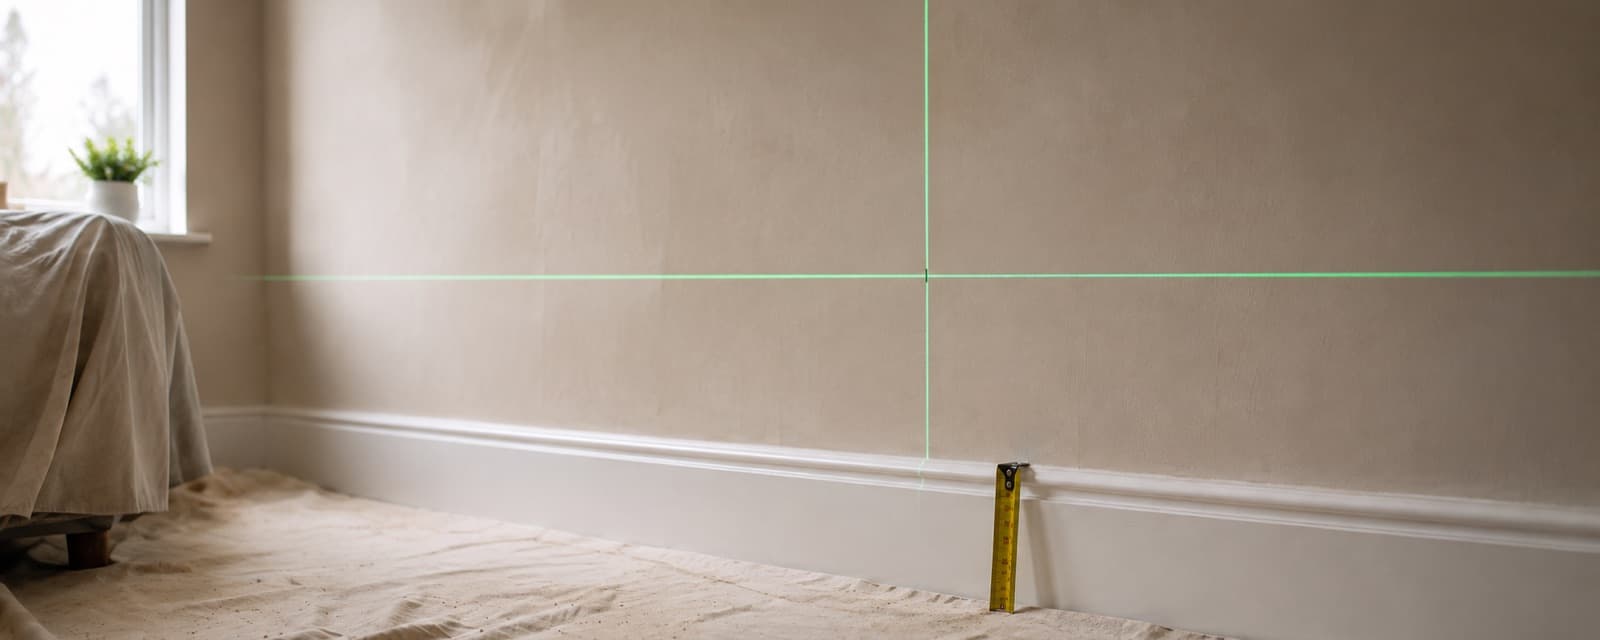
Laser level
Mark a 3 metre line off a spirit level and it can drift a few millimetres end to end. Every row above repeats the error. A self levelling cross line takes the drift out entirely. Set it at your dado height, leave it running, and fix the whole band to the beam. Green beams cost a little more than red and are much easier to see on a bright wall.
Tape measure
Use one tape for the whole job. Two tapes can disagree by a millimetre or two, and your gaps are designed to the millimetre. And don't worry about the hook rattling. It slides on purpose, to compensate for its own thickness on inside and outside measurements.
Cable and pipe detector
Cables are supposed to run straight up and down from sockets and switches. Nobody told the previous owner's electrician. Sweep every batten position before you glue, and again before you fire a single pin. Thirty seconds a batten, weighed against a rewiring bill.
Cutting & fixing
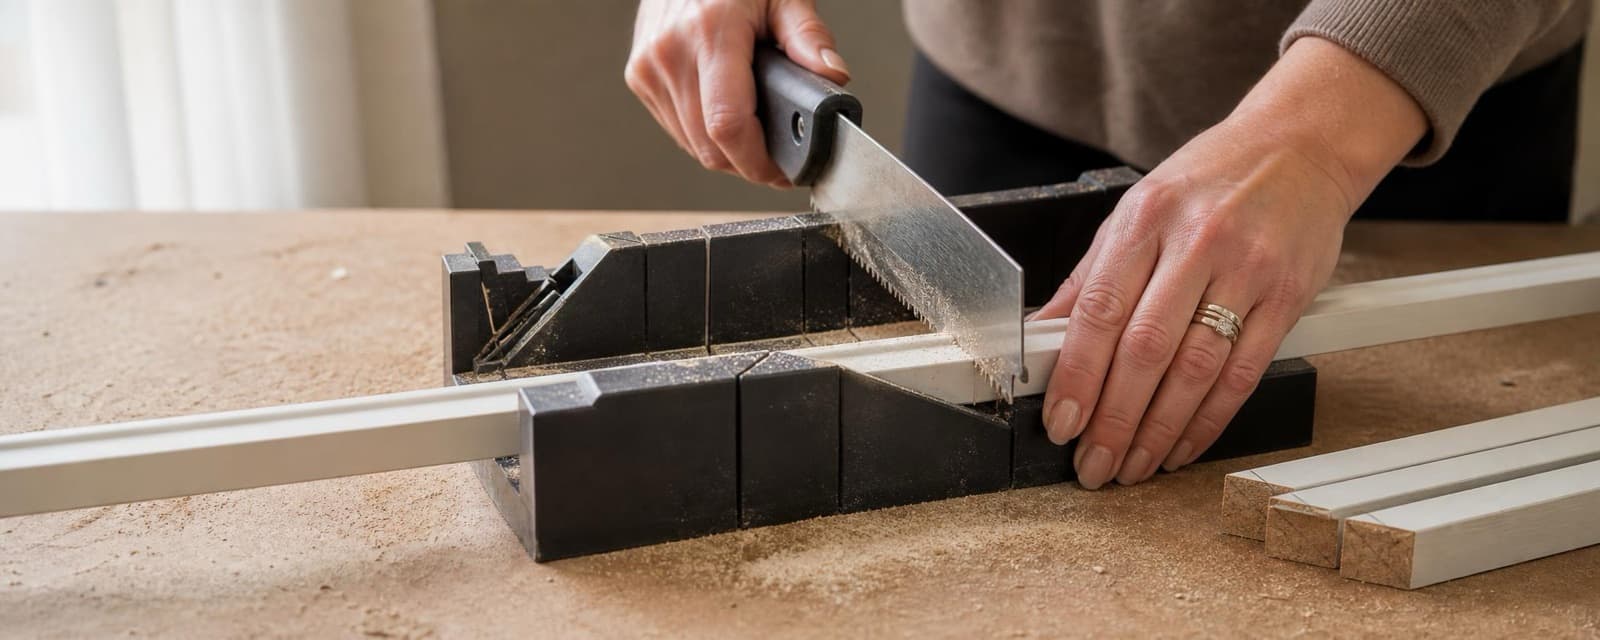
Mitre box and saw
A clamping mitre box does everything a panelling cut list asks. Square ends for the straight runs, and 45 degree mitres where panel corners meet and where dado rail turns a corner. Two habits make a cheap box cut like a dear one: clamp the workpiece, and saw on the waste side of your pencil line. The slots go sloppy eventually. By then it has paid for itself. Replace it.
Grab adhesive
One 290ml cartridge fixes roughly 15 metres of batten, so most walls need two or three. Run a zigzag bead, press the batten on, pull it straight off for a minute, then press it back. That double press is the trick. The solvent flashes off and the tack holds the batten with no props. Remember it only grips as well as the surface under it. Flaky paint comes off with the batten.
Spirit level
The laser sets out the wall, the spirit level checks each piece as you press it on. A 60cm level sits nicely on rails and battens. Check the timber itself, not your pencil line, because adhesive lets pieces creep a little while it grabs.
Mitre saw
Past about twenty cuts, a hand saw stops being charming. A basic sliding mitre saw turns an afternoon of sawing into twenty minutes, and every cut comes out identical, which matters when eight verticals have to match. One small wall? Skip it. The hall, the stairs and a bedroom? Buy it.
Nail gun
Strictly optional, and its job is clamping, not strength. A brad every 40cm holds a bowed batten flat while the adhesive cures. Straight timber on a flat wall never needs it. Fill the holes afterwards; that is what the filler is for.

Finishing
Decorator's caulk
The give-away on DIY panelling is a hairline shadow where batten meets wall. Caulk closes it. Cut the nozzle small, run a thin bead along every edge, smooth it with a damp finger, paint after an hour. Buy decorator's caulk, not bathroom silicone. Paint peels straight off silicone and it stays glossy forever. A single tube covers a wall. Buy two anyway.
Sealant gun
Any skeleton gun runs both the adhesive and the caulk. Pay the couple of pounds extra for one with a pressure release, because the cheapest ones keep pushing after you let go and leave a bead running down the wall. That is the entire buying decision.
Wood filler
Fill the joins, the pin holes and any bruises slightly proud, then sand flush once it has dried. Ready mixed filler handles everything a panelling job produces. Save two part filler for damage deeper than a coin.
Sanding sponges
You are sanding filler flush and keying shiny paint, nothing heavier. 120 grit does the shaping, 240 the smoothing, and a sponge wraps a moulded rail profile in a way paper never manages.
Primer
Cut MDF edges drink paint. Skip primer and every edge flashes dull through two topcoats. One coat of acrylic primer on the cut ends fixes it, and prime whole battens if you bought raw rather than pre primed MDF. The cheapest step on this page and the one most people skip, then regret.
Prep & paint day
Dust sheets
Cotton, not the bargain plastic ones. Plastic slides on carpet and tears under a stepladder; cotton stays put and takes a dropped blob of caulk without spreading it round the room. Two sheets cover most rooms with one spare for the furniture.
Sugar soap
Adhesive and caulk bond to the wall, not to the film of dust and cooking grease sitting on it. Wipe every batten line with sugar soap, rinse, and let it dry before anything sticky comes out of a tube. Five minutes that decides how permanent the whole job is.
Foam roller set
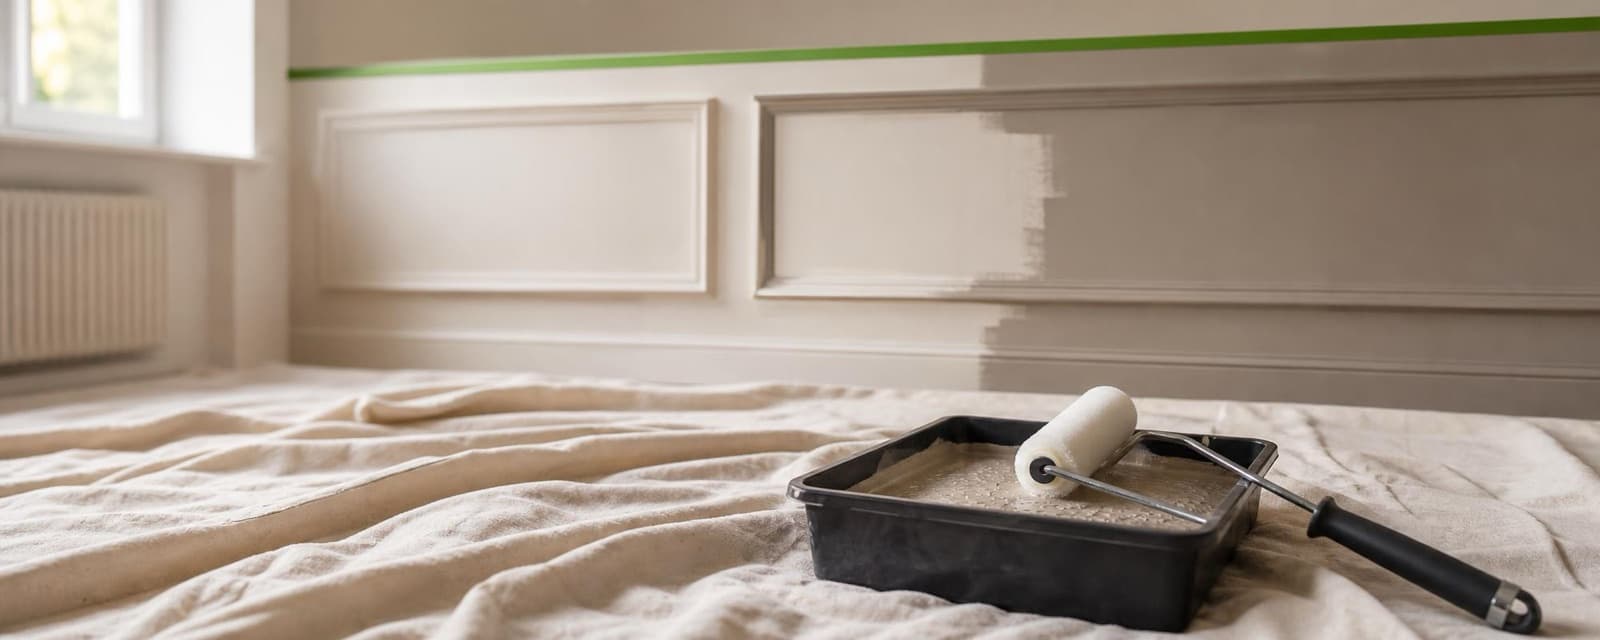
Brushes leave tramlines on flat MDF. A 4 inch foam roller lays the paint down smooth and fits between battens without flooding the corners. Brush the profiles and inside corners first, then roller the flats while the brushed paint is still wet.
Masking tape
One crisp line where the panelling colour stops and the bare wall above begins. Run the tape at your dado height, press the edge down hard, and peel it while the final coat is still slightly wet. Cheap paper tape bleeds. This is the one place on the page where the brand genuinely matters.
Before you start
Can I panel over wallpaper?
No. The adhesive grips the paper and the paper grips very little. Strip it, wash the paste residue off, let the wall dry for a day, then fix to the bare surface.
Do battens need screws or wall plugs?
Not on a sound wall. Panelling battens are light and grab adhesive spreads the load, which is why plasterboard and dot and dab walls are fine too. Screws only enter the picture for heavy shelving rails or walls with failing plaster.
Do I have to remove the skirting board?
Usually not. Most designs stop the panelling just above the skirting, and the planner keeps that clearance for you automatically. Removing it only makes sense on full height designs where the boards would land behind the panels.
What does the kit cost?
If you own nothing at all, the essentials plus the finishing bits usually come to less than the MDF for one wall. The only items that cost real money are the mitre saw and the nail gun, and both are optional.